
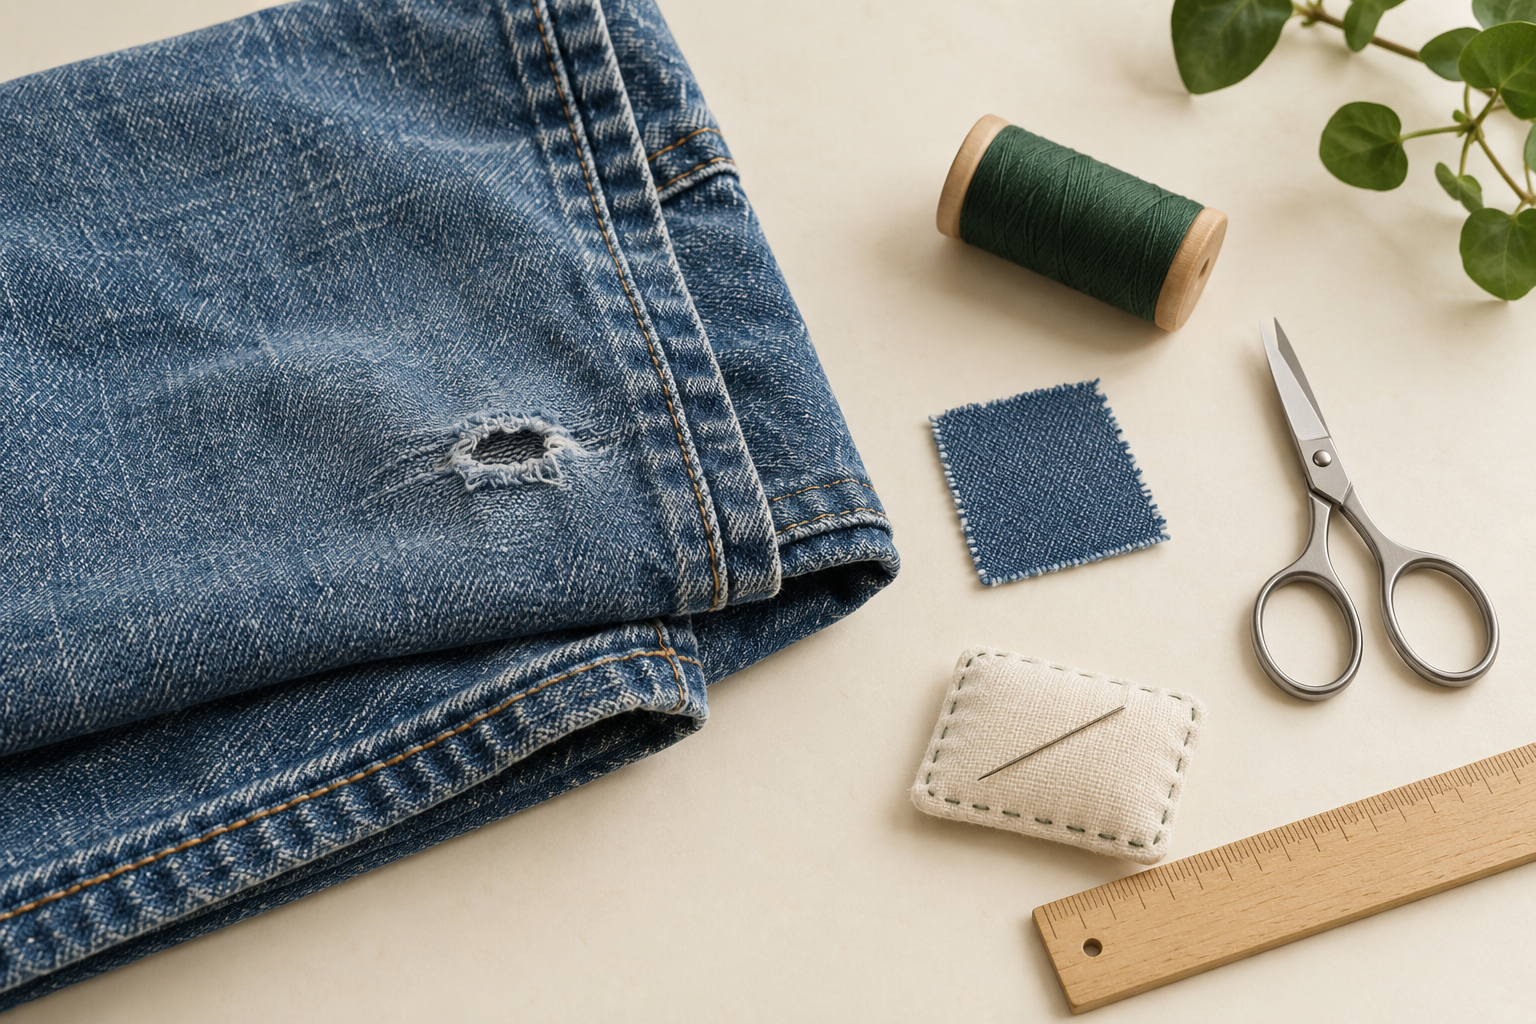
Start with a small, accessible repair on a garment you can afford to practice on. An open seam in otherwise sound fabric is often more manageable than a large hole surrounded by thinning material. You do not need a sewing machine, but you do need to understand what has failed before choosing your stitches.
The first decision is whether you are reconnecting fabric, replacing missing material, or supporting an area that is wearing out. Those are different jobs. Choosing the method before inspecting the cloth can leave you with a neat-looking repair that does not support the damaged area.
Look at the fabric around the damage
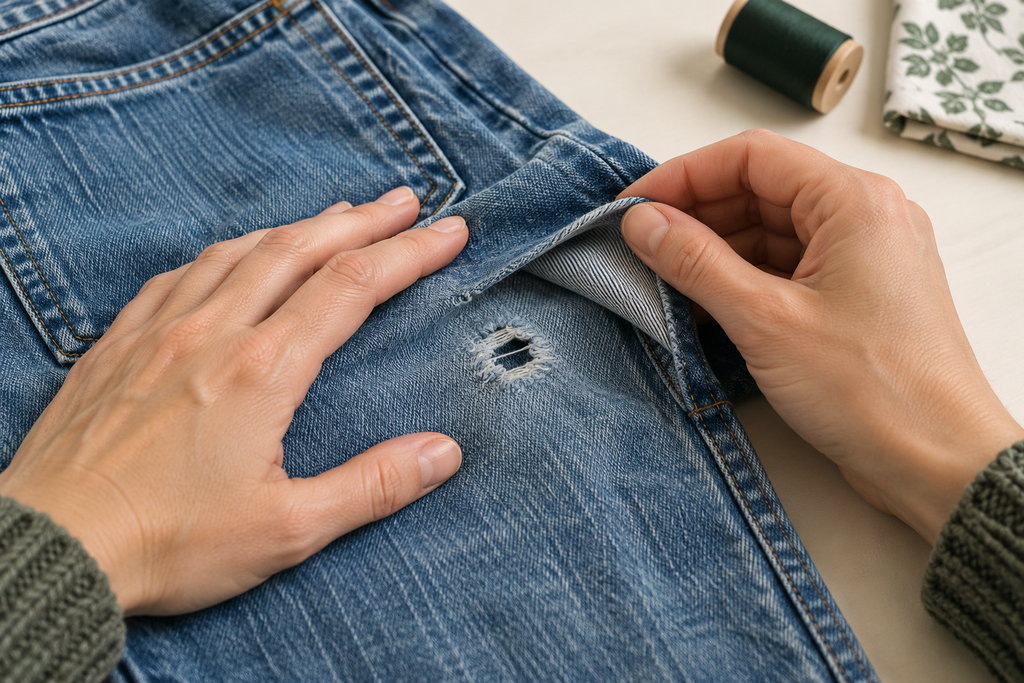
Lay the garment on a table in good light. Examine both sides of the damaged area and check the care label before washing, pressing, or choosing materials.
Ask four questions:
- Has the stitching come undone, or has the fabric itself torn?
- Is there material missing?
- Does the surrounding area still feel substantial, or is it becoming thin?
- Does this part of the garment stretch, bend, or rub during wear?
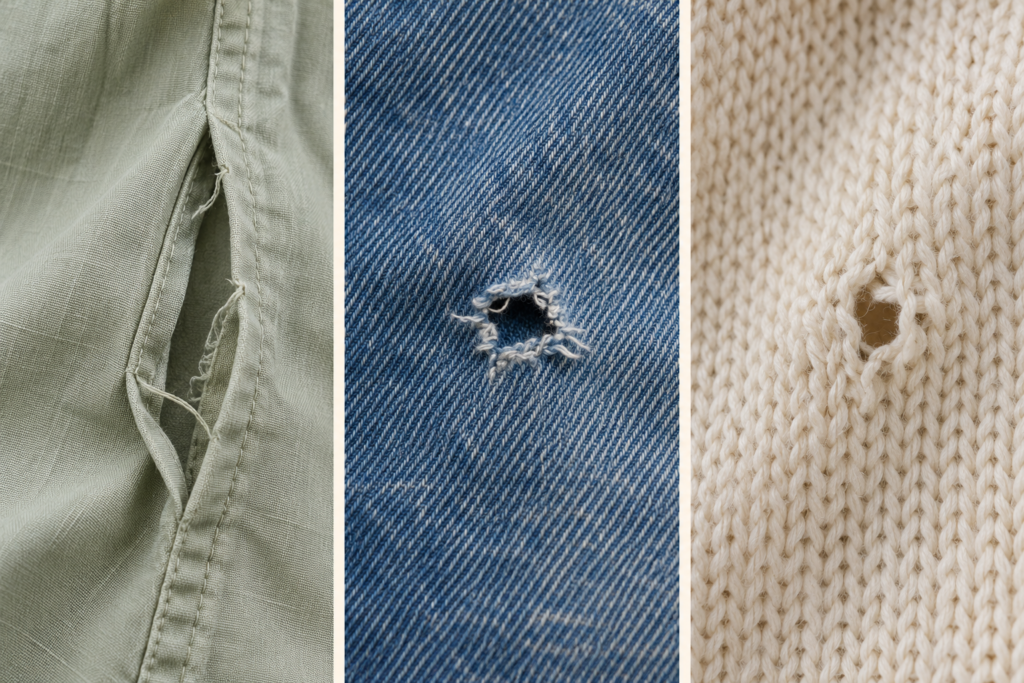
An opened side seam with intact seam allowances may need new stitching. A hole in the middle of a woven panel may need a patch. A hole in a knitted sock may suit darning. A broad area of weakened fabric requires more support than the visible opening alone suggests.
Do not pull hard to test the cloth. If ordinary handling causes it to split further, choose a different practice project and consider professional advice for that piece.
Choose a first project with room to work
A good learning project gives you access to the back of the repair. You should be able to see where the needle enters and exits without catching another layer.
Consider a short open seam on a stable cotton garment, a loose flat button where the underlying fabric is intact, or a small patch on an accessible area of non-stretch denim. Choose one task, rather than a garment that needs several different repairs at once.
Save fine cashmere, slippery linings, complex crotch repairs, and sentimental pieces for later or for an experienced repairer. They are not necessarily beyond repair. They simply offer less room for mistakes while you are learning.
Choose your first hand-mending method
| What you find | A possible approach | What to check first |
|---|---|---|
| A seam has opened but the cloth is intact | Resew the seam | There is enough sound seam allowance to stitch into |
| A woven area has a hole or tear | Add a fabric patch | The patch can extend onto healthy cloth |
| A sock or sweater has localized damage | Use an appropriate knitwear repair | Loose loops, yarn thickness, and movement are understood |
| A button has detached | Sew on a compatible button | The attachment area has not torn away |
| A large area is fragile | Assess reinforcement or professional repair | Supporting one spot will not simply move the strain elsewhere |
This table is a starting point, not a universal prescription. A stretchy T-shirt and a woven shirt may both be cotton, yet need different handling because their structures differ.
Two examples: the same opening can need a different repair
A shirt seam has come undone
Imagine a short opening along the side seam of a woven shirt. On the inside, the two fabric edges are still present and feel sound. The old sewing thread has broken, but the cloth has not ripped.
This is a seam-repair problem. Inspect the remaining seam allowance and follow a hand-sewn seam tutorial that shows how to secure the beginning, join the layers, and finish the thread. Adding a patch would introduce material that may not be necessary.
Now imagine the opening is beside the seam rather than along it. The stitching is intact, while the fabric next to it has torn. Sewing directly along that fragile edge may not provide useful support. Reassess the cloth instead of treating it as the same repair.
A pair of jeans has a worn knee
If the knee has a hole surrounded by firm, non-stretch denim, a compatible patch may be a manageable project. You need enough sound fabric around the damage to attach it, and the patch must allow the knee to bend.
If the denim feels thin across a much larger area, do not size the patch from the opening alone. The visible hole is only part of the wear. A broader repair or a more experienced assessment may be appropriate.
These examples help you choose a tutorial. They are not substitutes for the instructions needed to carry out the repair itself.
Gather materials for that repair
Begin with a suitable hand-sewing needle, compatible thread or yarn, scissors, and somewhere secure to put the needle. Add patch fabric only if the repair needs it.
You can build a larger kit later. A darning loom will not help you reattach a shirt button, and thick decorative thread is not automatically a good choice for a lightweight seam. Let the repair determine the equipment.
Practice the planned stitch on a scrap first. Use a contrasting thread while learning so that you can see the path clearly. Check that the needle moves through the material without excessive force and that the cloth stays flat as you draw the thread through.
Work in stages and inspect as you go
Before starting, arrange the garment so that you can reach only the layers you intend to sew. Pause every few stitches to check the back. It is easier to undo a short section than to discover that you have sewn a pocket shut.
Keep the fabric in its natural shape. Pulling the thread tighter does not automatically make the repair stronger; it can gather the cloth or concentrate strain around the stitches.
At the end, look for loose ends, trapped folds, and rough areas that could rub your skin. Gently move the garment as it would move when worn. Stop if the repair restricts movement or makes the surrounding fabric pull.
What counts as a successful first repair?
The repaired area should suit the garment’s use, feel comfortable, and remain attached without obvious strain. An uneven stitch does not necessarily make the repair unusable. A neat-looking repair that catches another layer or pulls on fragile fabric needs attention.
Inspect it again after washing according to the garment’s care instructions and the materials used. That follow-up tells you more than the appearance immediately after sewing.
For your first project, the useful goal is to understand one repair from inspection to follow-up. Once that process feels familiar, you can take on another type of damage with a clearer idea of what to look for.
Your first-repair checklist
Before threading the needle, make sure you can answer yes to these questions:
- I know whether the problem is failed stitching, torn cloth, or worn fabric.
- I can identify sound material that will support the repair.
- I have chosen instructions that match the fabric and the damage.
- I can reach the repair without accidentally sewing through another layer.
- I have suitable materials and a scrap on which to practice.
If one answer is no, resolve that part first. A smaller, well-understood project is a better starting point than a complicated repair you cannot yet assess.
Further reading
- Visiblemending: Getting Started — an introduction to mending supplies and possibilities.
- Collingwood-Norris: Visible Mending Advice — considerations for needles, yarn, and knitted fabrics.
- iFixit: Hand Sewing Stitches — stitch structures, uses, and limitations.