
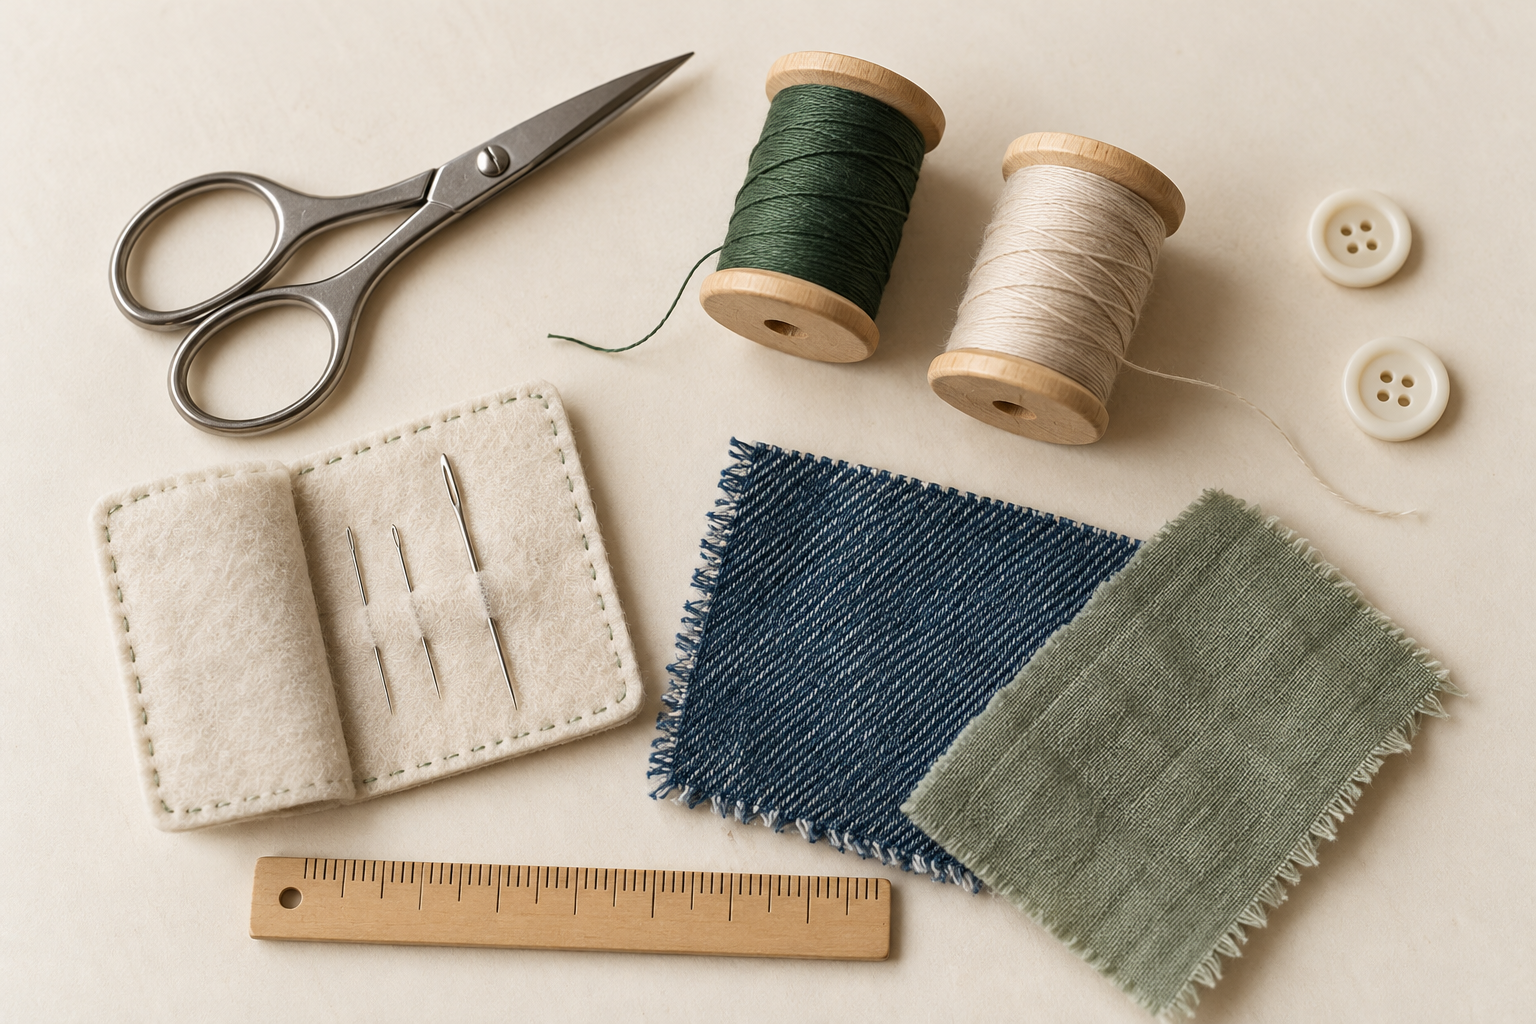
A beginner hand-mending kit should help you complete a specific repair. For a loose shirt button, that might mean a needle, suitable thread, scissors, and the button itself. A denim patch or a darned sock calls for different materials.
You do not need to buy equipment for every possible project before starting. Choose one manageable repair, gather what it requires, and add tools when you understand how they will help.
This guide explains how to build that first kit, assess supplies you already own, and avoid purchases that do not suit your clothes.
Choose your first repair before buying supplies
Look at the garment you want to mend. Is a seam coming apart? Is fabric missing? Is the material woven, knitted, or stretchy?
Those details matter more than the number of accessories in a sewing set. A kit containing many needles and colorful threads can still lack the right materials for your repair.
Start by writing down:
- The garment and the location of the damage.
- Whether the stitching has failed or the fabric has torn.
- The fabric’s weight and stretch.
- The repair method you intend to follow.
If you are unsure about the method, inspect the damage before shopping. Buying a patch will not resolve uncertainty about whether the surrounding fabric can support it.
The basic supplies to start with
1. A small selection of hand-sewing needles
Choose needles made for hand sewing. Machine needles are different tools and will not replace them.
For many woven fabrics, a sharp hand-sewing needle is a useful starting point. Some knitwear repairs call for a blunt tapestry needle that can travel between existing yarns. Mending educator Flora Collingwood-Norris recommends matching tapestry-needle size to the fineness of the knit and ensuring the yarn fits through the eye.
Check three things before sewing:
- The eye: your thread should pass through without being forced.
- The shaft: it should suit the fabric rather than leave unnecessarily large holes.
- The point: it should match the material and the technique.
Needle sizes vary between types, so do not choose by number alone. Read the packaging and try the combination on a suitable scrap.
If the needle bends or repeatedly catches, stop and reassess the tool and the layers you are sewing.
2. Thread or yarn suited to the repair
For many small repairs in woven clothing, ordinary sewing thread is a practical starting point. Knitted garments may require compatible yarn and a different technique.
The thickest thread is not automatically the best choice. It can make a repair bulky, resist passing through the fabric, or feel uncomfortable against the skin.
Consider:
| Question | Why it matters |
|---|---|
| Does the thread suit the fabric’s weight? | Oversized thread can overwhelm lightweight material. |
| Will the repaired area need to stretch? | The finished structure must allow the required movement. |
| Can the materials be cared for together? | The repair should remain compatible with the garment’s washing instructions. |
| Should the stitches blend in or stand out? | Color and texture affect the finished appearance. |
Use contrasting thread on practice scraps so you can see your stitches. Choose matching or decorative colors for the garment once you understand the method.
3. Scissors that cut cleanly
A small pair of scissors is convenient for trimming thread. Cutting denim or preparing larger patches may require fabric scissors suited to the material.
Check what you already own before buying another pair. The blades should cut without repeatedly pulling or chewing the fabric.
Keep scissors closed when not in use and store them where they will not damage the other supplies in your kit.
4. A secure needle holder
A needle case or suitable holder keeps needles contained between sessions. A pincushion is useful while working, but a closed container is more practical for transporting the kit.
Count needles out and back in. Avoid leaving one temporarily tucked into clothing that someone might pick up and wear.
Add materials for your chosen project
Once you have the basics, add only what the repair needs.
| First repair | Additional supplies | What to check |
|---|---|---|
| Reattach a flat button | Original or compatible replacement button | It fits the buttonhole and aligns correctly. |
| Close an open seam | Pins or clips if needed | The fabric beside the opening is still sound. |
| Patch stable denim | Compatible patch fabric and a ruler | The patch reaches beyond the worn area. |
| Darn a sock | Suitable yarn and a smooth support | The repair will not create uncomfortable bulk. |
| Make a decorative repair | Appropriate embroidery thread and a marking method | The materials suit the garment and its care needs. |
Specialist mending resources list many possible supplies, including fabric scraps, yarn, hoops, and darning supports. Their availability does not mean every beginner needs all of them visiblemending.
How to choose fabric scraps for patches
A scrap from an unwanted garment can be useful if it is still in good condition.
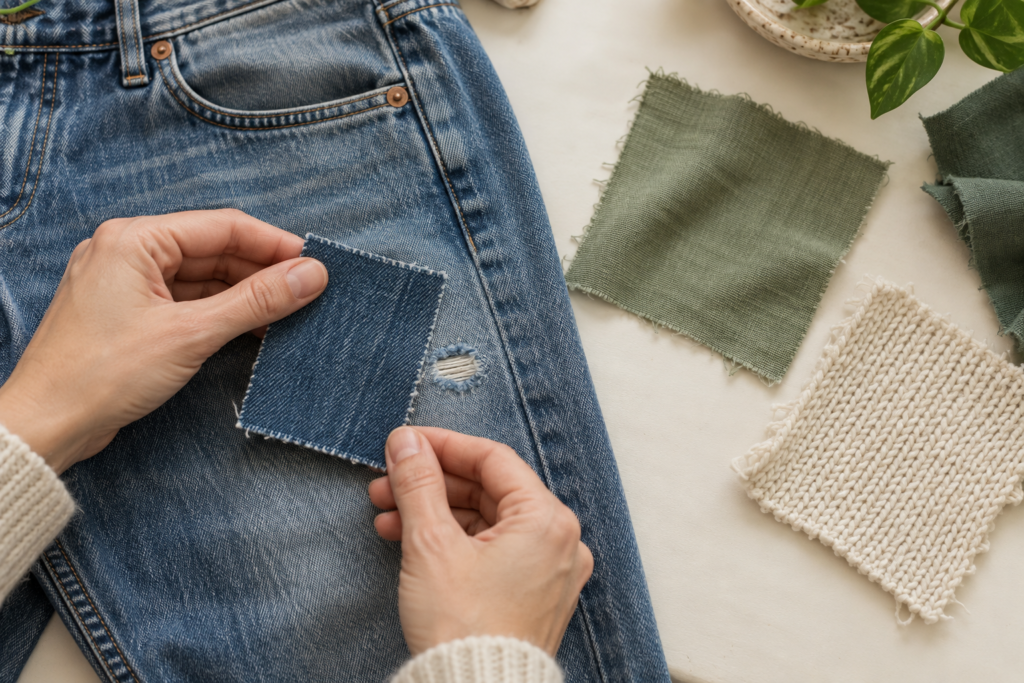
Compare it with the clothing you plan to repair:
- Is it much heavier or stiffer?
- Does it stretch differently?
- Is it already thinning?
- Can both materials be washed appropriately?
- Will the additional layer feel comfortable in that location?
For example, a thick patch may feel awkward inside fitted trousers. A rigid woven scrap may restrict a stretchy area.
Prepare the material according to its care requirements before cutting the final patch. Do not assume that matching the color means the fabrics are compatible.
Useful extras that can wait
Needle threader
A needle threader can help when a small eye is difficult to thread. Check that the threader fits the needle and use it gently.
Thimble
A well-fitting thimble can help protect the finger used to push a needle. It should support comfortable handling rather than encourage forcing an unsuitable needle through excessive layers.
Seam ripper
A seam ripper helps remove unwanted stitches. Practice on scrap fabric first: its cutting edge can damage the cloth as well as the thread.
Darning mushroom or egg
These tools support fabric during certain darning projects. They become more relevant when you start repairing socks or curved areas.
Embroidery hoop or darning loom
Both can help with particular techniques. Neither is a requirement for every repair, and the tool should not distort the garment while you work.
Buy an extra when a project gives you a clear reason to use it.
Should you buy a ready-made mending kit?
A ready-made kit can be convenient, especially if you own no sewing supplies. Assess its contents by usefulness rather than the advertised piece count.
Look for:
- Clearly identified hand-sewing needles.
- Thread suitable for your intended work.
- Scissors that meet your needs.
- Secure storage for sharp items.
- Materials you will actually use.
A small, suitable kit can serve you better than a large assortment filled with accessories for unrelated projects.
Check older supplies before reusing them
An inherited sewing box may contain useful tools, but inspect them first.
Set aside rusty, bent, or damaged needles. Check scissors for smooth operation. Examine old thread for deterioration and avoid relying on it if it breaks readily under gentle handling.
Keep labels when you know the fiber content or care requirements of a thread or yarn. That information is useful when choosing materials for later repairs.
Pack a kit you can understand
Separate sharp tools from loose scraps and thread. Store usable pieces together without turning the container into an unsorted collection.
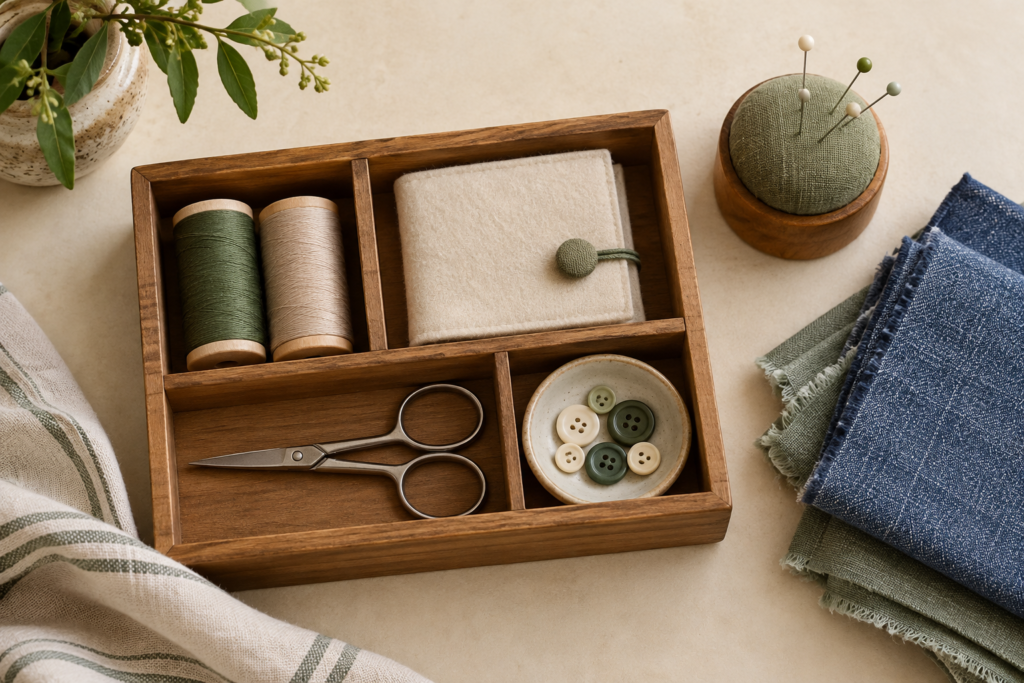
A simple starting arrangement is:
- Needles in a secure holder.
- Thread for the repair you have chosen.
- Scissors.
- Pins or clips when needed.
- A small practice scrap.
- Patch fabric or darning yarn if the project requires it.
Before sewing the garment, test the needle and thread on a scrap. Check that you can form stitches, control the tension, and finish the thread comfortably.
Your first kit is ready when it supports the repair in front of you. Expand it as your projects and skills develop.